How to make a GIF in Photoshop
Have you ever seen those fun, animated GIFs and wondered how they were created? Photoshop, of course- and I'm going to show you step by step how to make one for yourself! Here's an example of the GIF I made using this tutorial.

Step 1: Upload images to Photoshop.
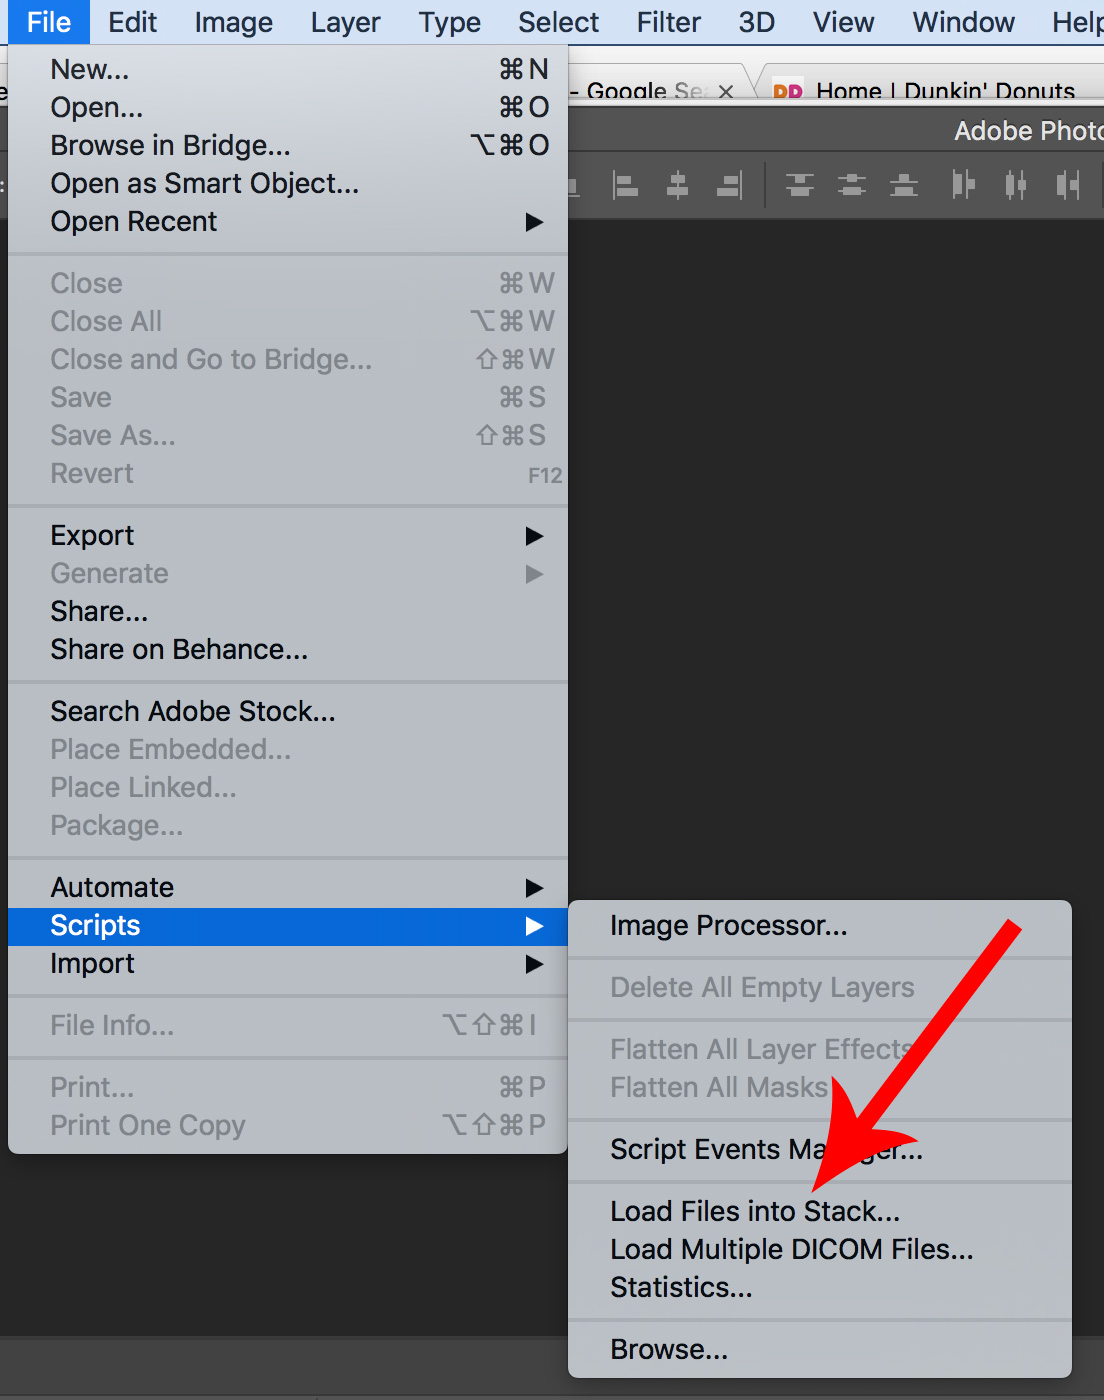
Gather the images you want for your GIF in a separate folder. To upload them into Photoshop, click File > Scripts > Load Files Into Stack.
Then, choose browse and select which files you would like to use in your GIF. Then, click OK.
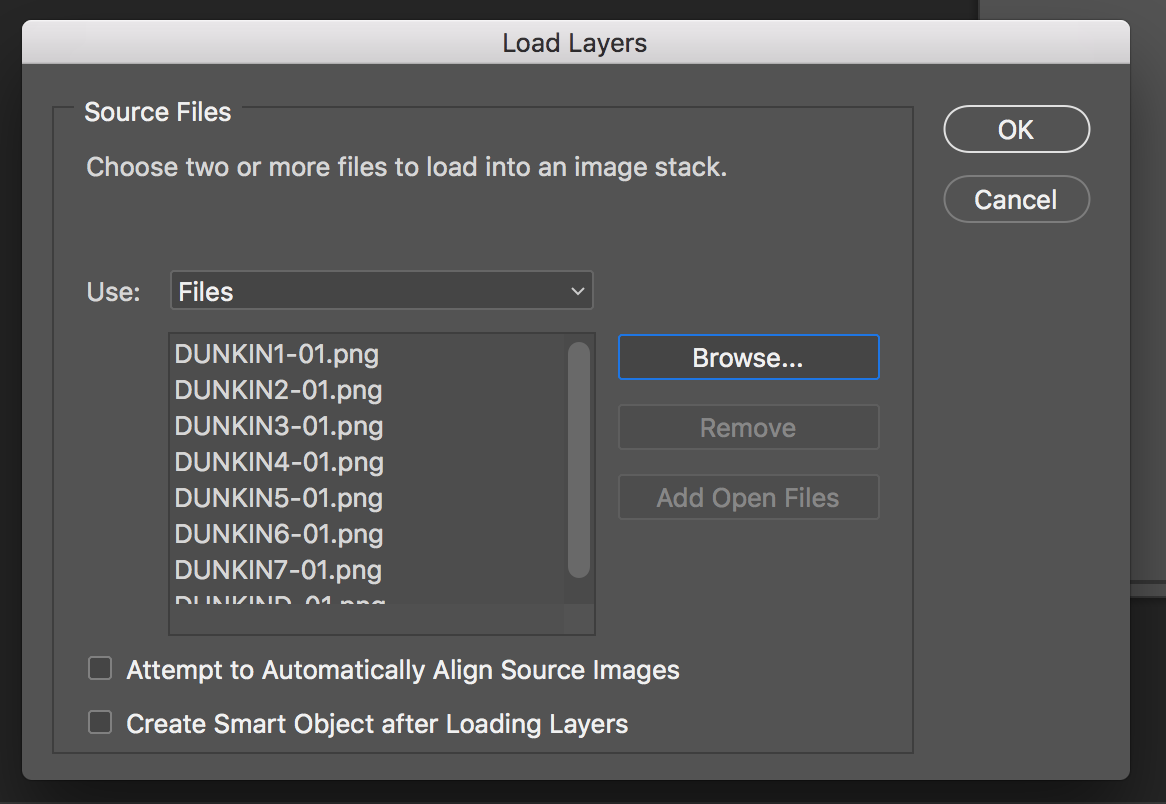
Photoshop will then create a separate layer for each file you have selected.
Step 2: Open up the Timeline window.
To open the Timeline window, go to the top navigation, select Window > Timeline. This will let you turn different layers on and off for different periods of time, thereby turning your static images into an animated GIF.

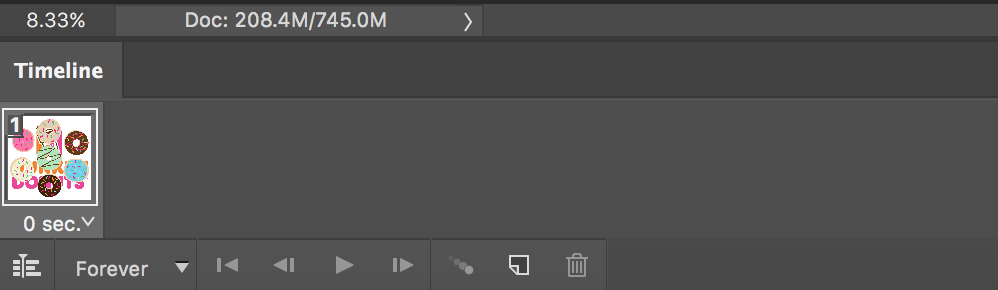
The Timeline window will appear at the bottom of your screen.
Step 3: Click "Create Frame Animation"
In the Timeline window, choose, "Create Frame Animation".

Now, your Timeline should look similar to this:
Step 4: Create a new layer for each new frame.
First, you need to select all of your layers by going to the top navigation menu and choosing Select > All Layers.
Then, select the menu icon located on the right of the Timeline screen.

From the dropdown menu, select Create new layer for each new frame.

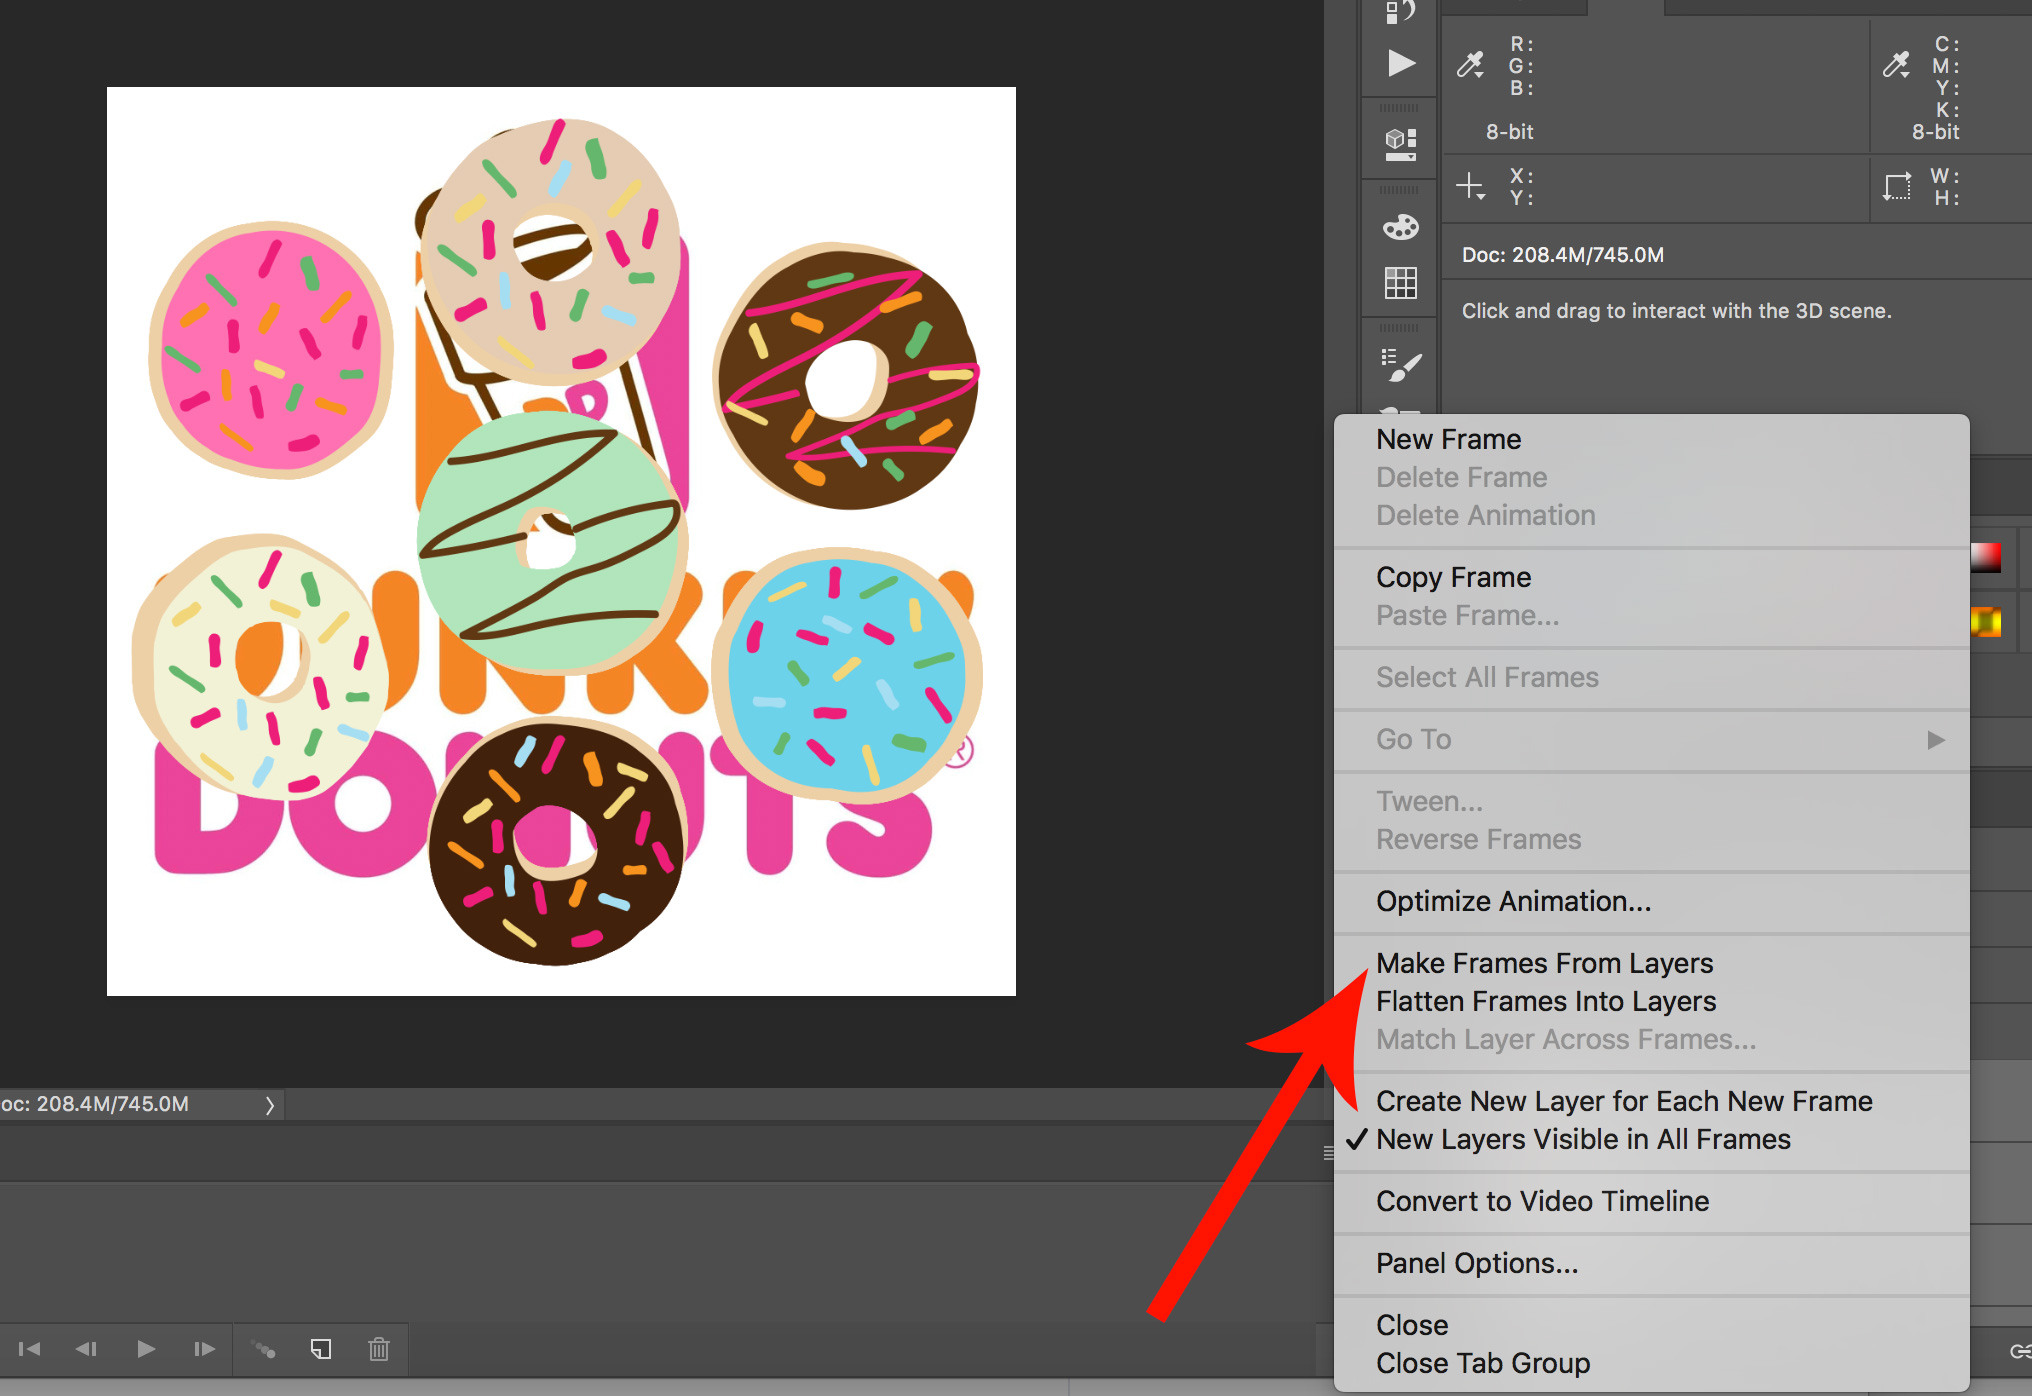
Step 5: "Make Frames From Layers."
Open the same menu icon on the right, and select "Make Frames From Layers." This will make each layer a frame of your GIF.
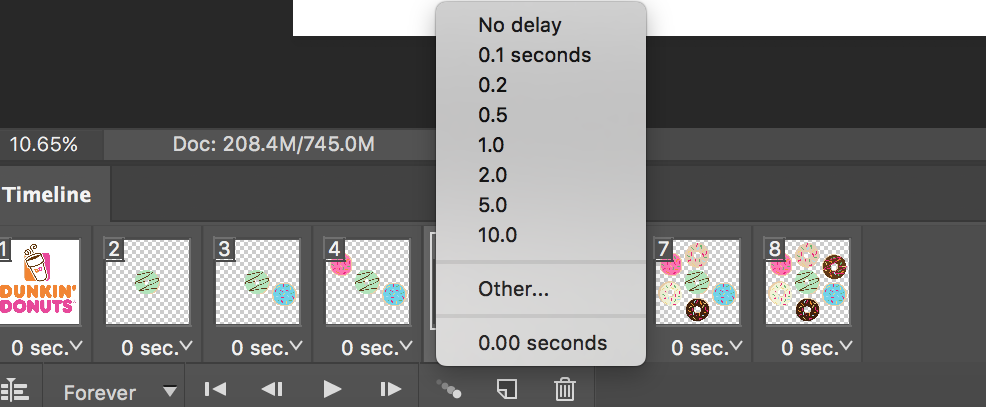
Step 6: Under each frame, select how long it should appear before switching to the next frame.
To do this, click below each frame and select how long you would like it to appear. If you want to choose multiple frames, shift + click each frame you'd like, and select how long you would like them to appear.
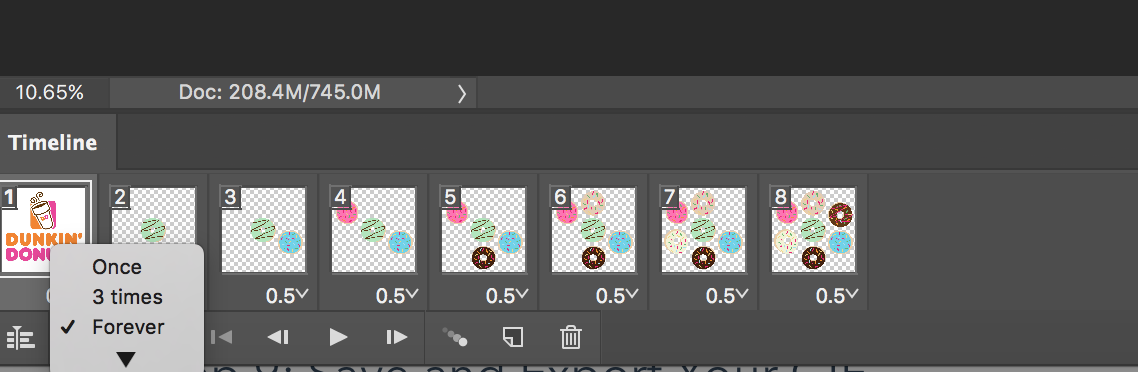
Step 7: Select how many times you'd like your GIF to loop.
You can find this option at the bottom of your timeline panel. The default will say Once, but you can loop it as man times as you'd like. Typically, I choose the Forever option. Click Other if you would like to specify the number of loops.
Step 8: Preview your GIF by pressing the play icon.

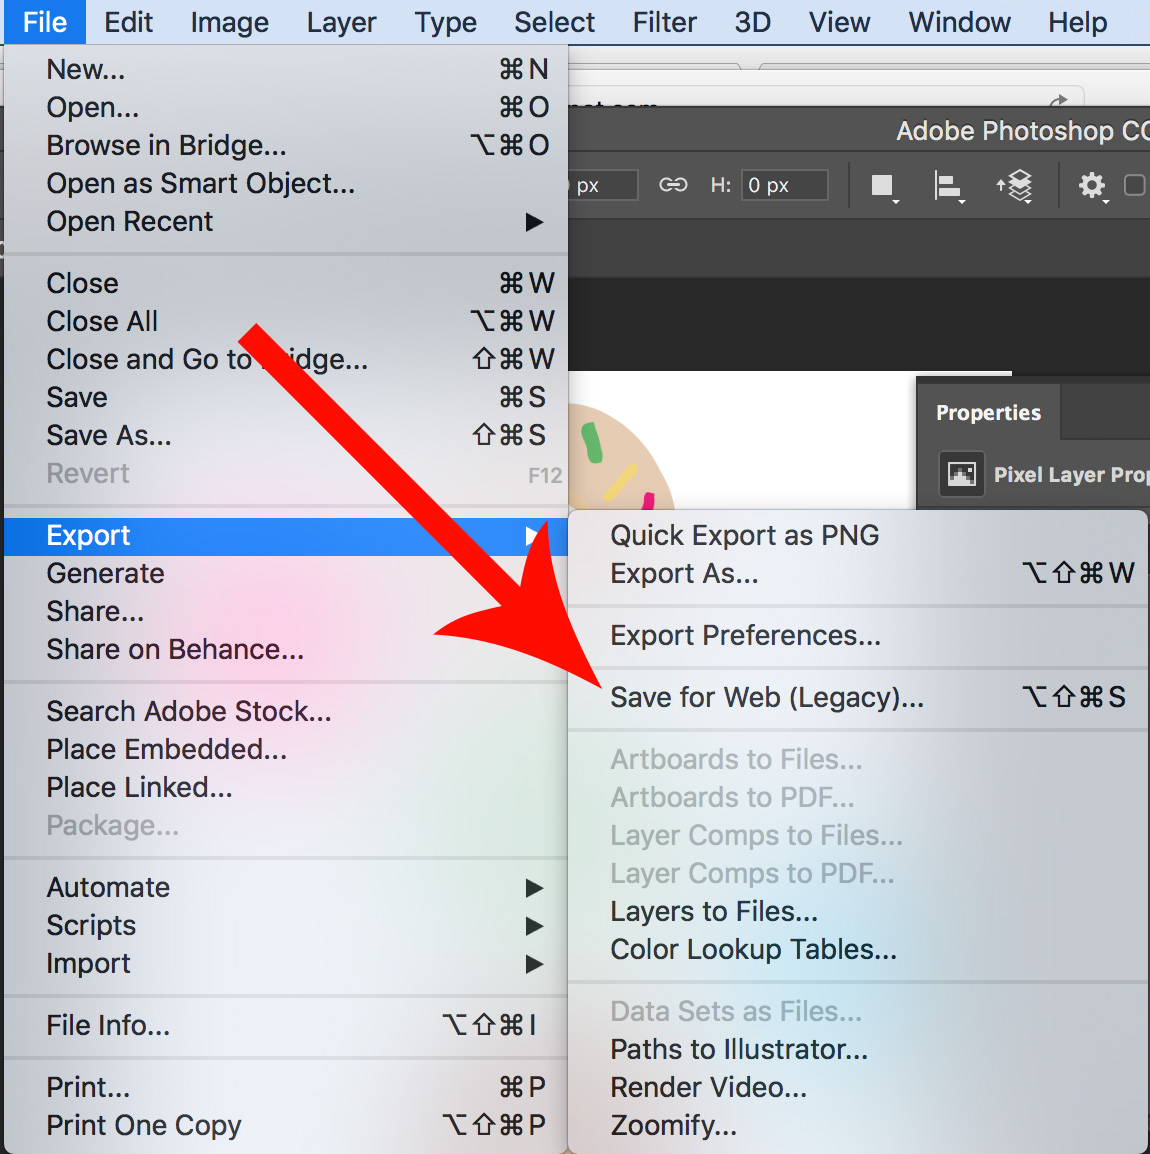
Step 9: Save and Export Your GIF.
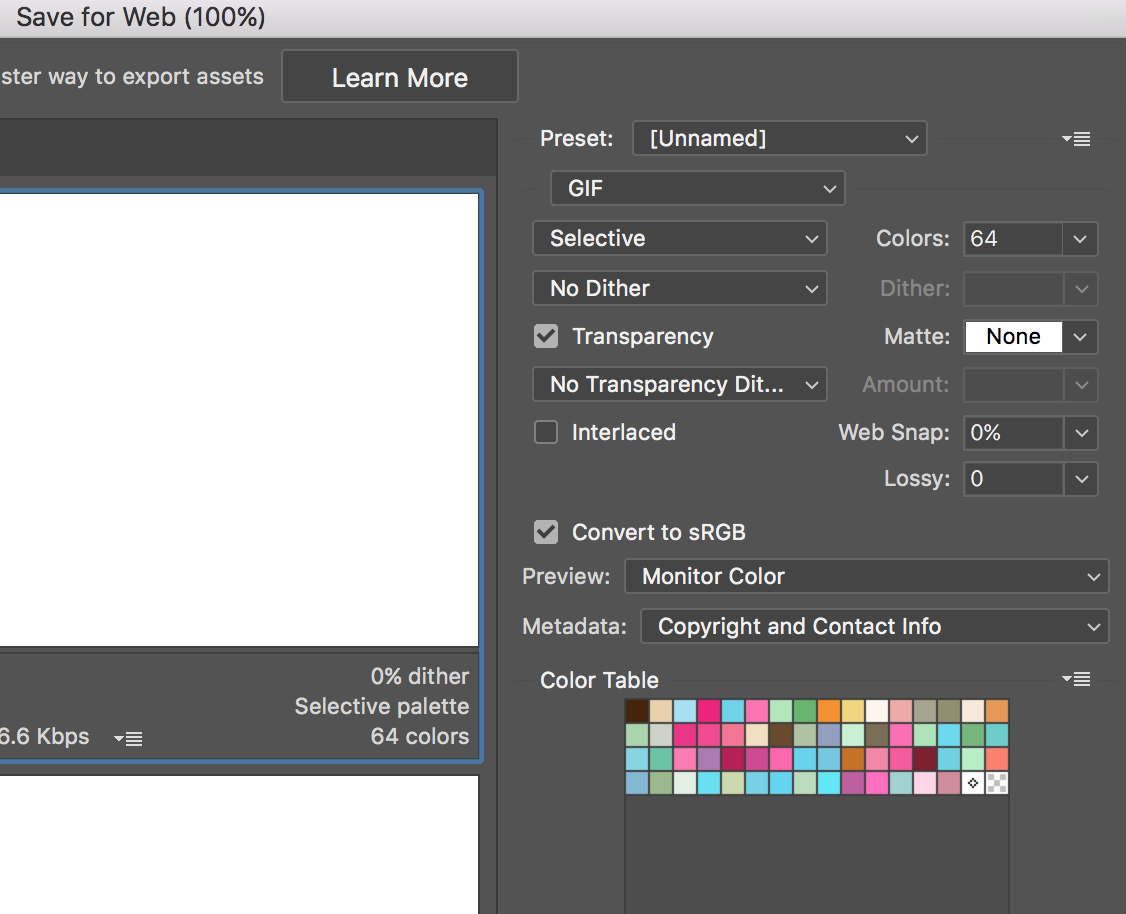
If you're satisfied with the result of your GIF, save it to use on the web by going to the top navigation bar and choosing File > Export > Save for Web (Legacy)...
Next, choose the type of GIF file you would like to save it as under the Preset dropdown. If you have a GIF with gradients, select Dithered GIFs to prevent color banding. If your image files contain mostly solid colors, you may opt for no dither.
Click Save at the bottom to save the file to your computer. Now you're ready to upload this GIF to use for marketing, branding- let your imagination run wild!
Upload the GIF file anywhere on the web that you would like to put an image, and it should play seamlessly. Please note that Instagram does not allow for GIFs, only MP4 video content. However, GIFs will work on most platforms. Some examples of common marketing strategies for GIFs are Pinterest, e-mail newsletters and campaigns, blog posts, and websites.
Congrats! You've just made your first GIF.
Leave a comment below and let me know how your GIF turned out, or if you have any questions about the process. Happy Photoshopping!